

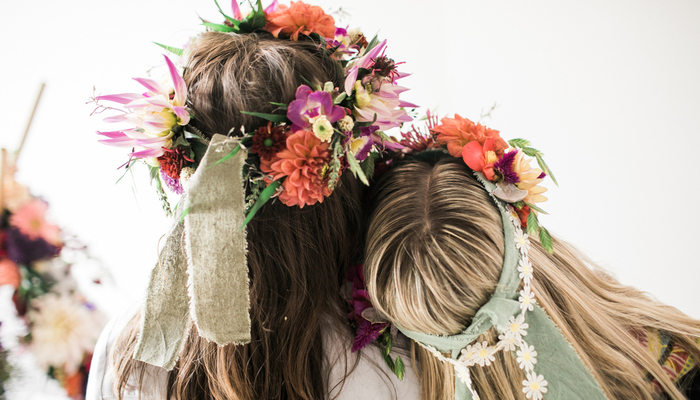
DIY | A happy summer flower crown
It’s the best time of the year for most of us: summer! A season to be celebrated and what better way to do it than with a floral DIY. It can be used for the shop window, as a design piece for a workshop or festivals, weddings or other events. What will be your take?
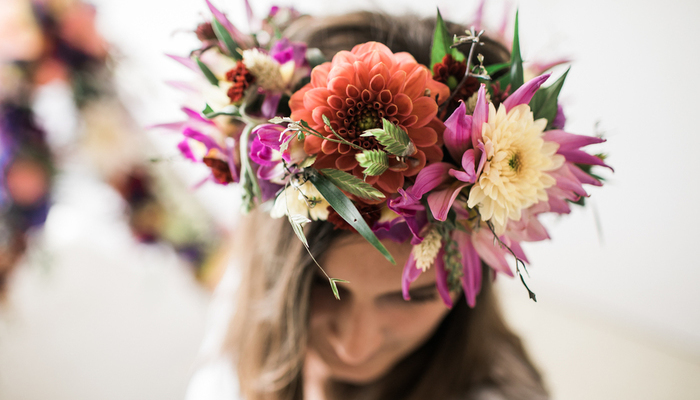
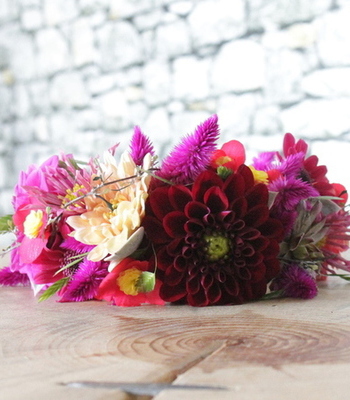
This happy, colourful flower crown is very simple to make. Take your favourite flowers in colours of your choice and make your own, unique flower crown. Tip: opt for mini plants in the crown!
Materials
- Scissor
- Wire cutter
- Head band
- Glue
- Ribbon
- Wire
- Flowers or mini plants
Step by step to a colourful flower crown
Step 1
Decide how big and long the crown needs to be. Note: you need to add an extra 20cm to the length for tying the ends together. Then cut the head band, ribbon or rope at the desired length.
Step 2
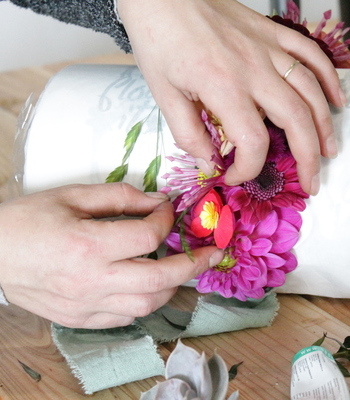
Gather all the flowers you want to use and cut the stems at about 10cm below the flower. Make sure to clean the stems properly.
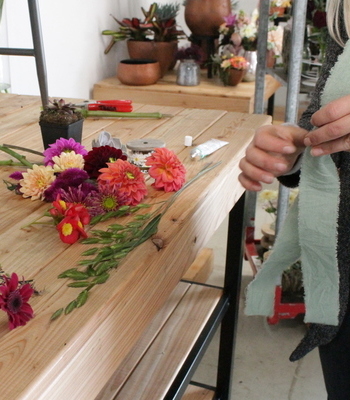

Step 3
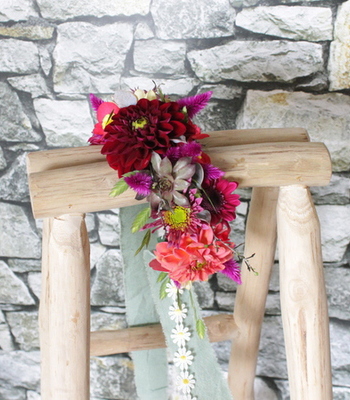
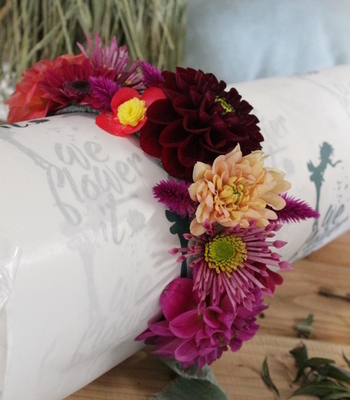
Attach the wire 10cm below one end of the cord. Then, start tying the individual flower stems. Make sure that the wire is tied tightly around the cord forming a straight line. The flower heads should cover up the wire, you shouldn’t see any wire anymore when all the flowers are tied. Glue the flowers onto the ribbon and press tightly so they stay in place.
Step 4
Tie the ends together and get this party started!
Extra tip from the designer: don’t use large or fresh flowers for a flower crown. Use older flowers or plants to keep the piece affordable.